

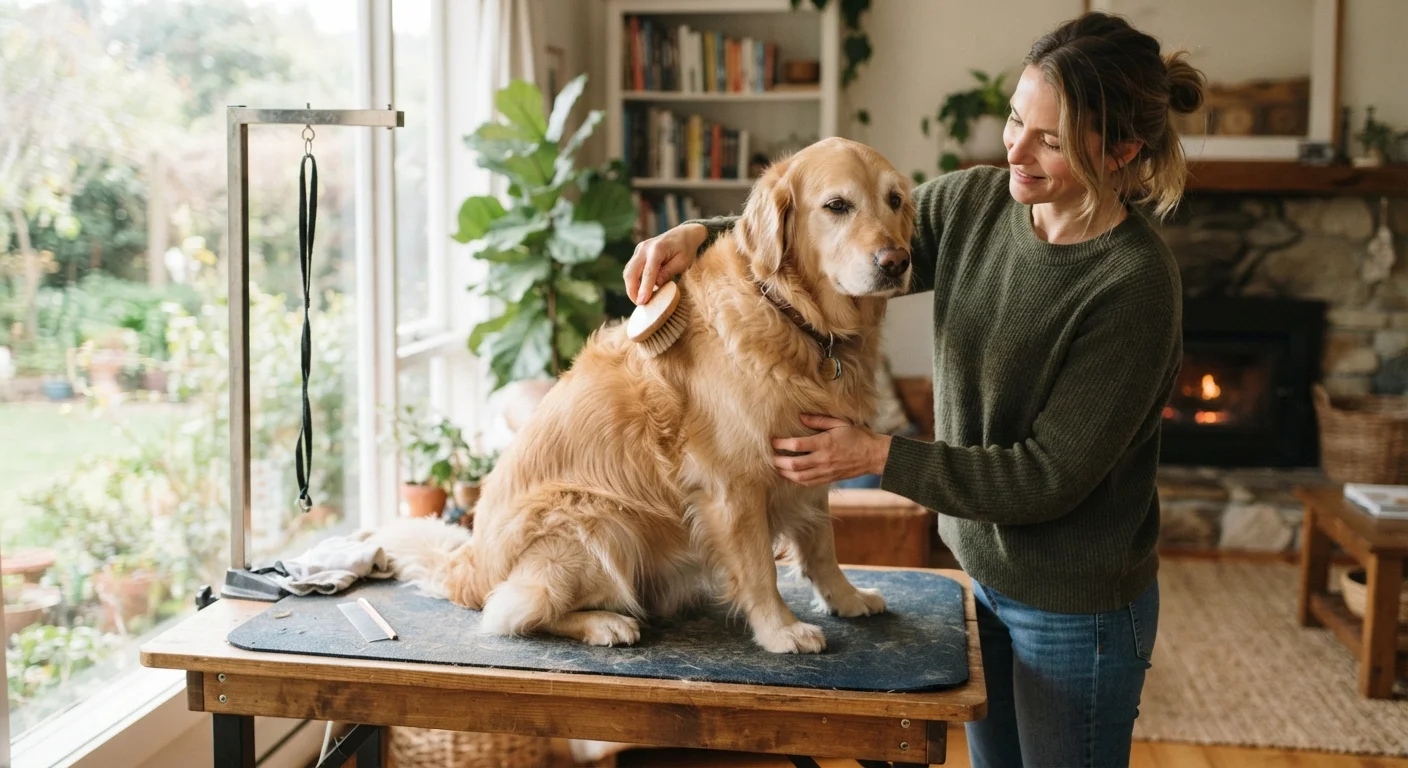
Why At-Home Grooming Matters Beyond Appearance
Grooming is not simply cosmetic. Regular brushing prevents painful matting, reduces shedding, and gives you a hands-on opportunity to notice changes in your dog's skin, coat, and body — lumps, redness, parasites, or unusual sensitivity that warrant a veterinary look. This kind of attentive handling is part of responsible ownership, not a luxury.
Dogs that are regularly handled from an early age tend to tolerate grooming — and veterinary exams — with far less distress. But even adult dogs that have had negative grooming experiences can be gradually reconditioned with patience. Understanding the signals your dog sends during handling is foundational. Yawning, lip-licking, turning away, and whale eye (showing the whites of the eyes) are early stress indicators, not random behavior. Our article on stress signals in pets breaks these down in detail so you know exactly when to pause.
The goal of at-home grooming is not perfection — it is building a routine your dog can tolerate, and eventually accept as normal. See how pets experience stress to understand how routine and predictability reduce anxiety in dogs over time.
What you will need
Tools You Will Need
Using the right equipment makes grooming easier for both you and your dog. Incorrect tools — such as a brush designed for a different coat type, or human nail clippers — can cause discomfort and make your dog resistant to future sessions. Below are the core tools for a complete at-home grooming kit.
Slicker Brush or Deshedding Comb
Removes loose fur, detangles coat, and distributes natural skin oils during brushing sessions.
Dog-Specific Shampoo
Cleans the coat without disrupting the skin's pH balance, which differs significantly from human skin.
Dog Nail Clippers or Grinder
Trims overgrown nails to a safe length to prevent discomfort and structural foot problems.
Non-Slip Bath Mat
Gives your dog stable footing during bathing, reducing anxiety caused by slipping.
Styptic Powder
Quickly stops minor bleeding if a nail is accidentally cut too short.
Detangling Spray
Loosens mats and knots in longer coats before brushing, reducing pulling and discomfort.
Introduce tools gradually before using them. Let your dog sniff each item, then offer a treat. This desensitization step is brief but meaningful.
Use the 'Touch-and-Treat' Method Early
Before introducing any grooming tool, practice simply touching your dog's paws, ears, and mouth while offering treats. This conditions them to associate handling with positive outcomes, making the actual grooming session far smoother. Even two to three minutes of daily touch practice over a week can produce noticeable improvement.
Step-by-Step: Brushing, Bathing, and Nail Trimming
Follow these steps in order during a full grooming session. It is also perfectly acceptable to split them across multiple sessions — bathing one day, nails another — especially while your dog is still building tolerance.
Set the Stage for a Calm Session
Choose a quiet room with minimal foot traffic and turn off loud background noise like television. Place a non-slip mat or familiar blanket on the surface where your dog will stand or sit. Gather every tool you need before your dog enters the space — rummaging through drawers mid-session breaks focus and raises anxiety.
Keep sessions short, especially in the beginning. A ten-minute session that ends on a positive note is far more productive than a forty-minute session that ends with your dog trying to escape.
Brush the Coat Thoroughly Before Bathing
Always brush before bathing. Water tightens existing mats and knots, making them far harder to remove afterward. Work in sections, moving in the direction of hair growth. Use your free hand to hold the coat near the root while you brush — this reduces the pulling sensation at the skin.
For dogs with double coats or dense fur, use a wide-tooth comb first to break up tangles, then follow with a slicker brush. Short-coated breeds typically need only a rubber curry brush or grooming mitt.
Introduce the Bath Gradually
Use lukewarm water — not hot — and wet your dog's body starting from the neck and working toward the tail. Avoid spraying water directly onto the face; instead, use a damp washcloth to clean the muzzle and around the eyes.
Apply dog-specific shampoo and work it into the coat using circular motions. Rinse thoroughly — residual shampoo can cause skin irritation. If your dog tolerates it, a second rinse is always worthwhile.
Dry Your Dog Comfortably
Towel dry first to remove the bulk of the moisture. If you use a blow dryer, set it to the lowest heat setting and keep it moving — concentrated heat on one spot can cause discomfort or skin burns. Many dogs are initially startled by the sound of a dryer; introduce it slowly from a distance before moving closer.
Allow your dog to shake freely during this process — it is a natural and effective drying mechanism. Reward calm behavior with treats throughout.
Trim the Nails Carefully
Hold your dog's paw firmly but gently. Identify the quick — the pinkish area visible in light-colored nails, or estimated by the hollow underside curve in dark nails. Clip only the curved tip, angling slightly downward. Trim one nail, offer a treat, then proceed to the next.
If your dog is resistant, trim just one or two nails per session and build up gradually. Consistency over several short sessions will accomplish more than trying to complete all nails at once during a struggle.
End Every Session on a Positive Note
Finish with a treat, calm praise, or a brief play session your dog enjoys. The emotional state your dog is in when a grooming session ends is what they will associate with the next one. Even if the session was imperfect, close it warmly.
Track which tasks your dog finds most challenging — brushing, bath, nails — and prioritize those with the most positive reinforcement in future sessions.
Know When to Call a Professional
If your dog shows signs of significant fear, aggression, or pain during grooming, stop immediately and consult a certified professional groomer or your veterinarian. Matted coats, skin irritation, or severely overgrown nails may also require professional intervention before you resume home care. Pushing through a dog's distress can worsen anxiety and create lasting negative associations.
Once grooming is a consistent part of your routine, consider integrating it alongside other wellness habits. Our guide to dental health in dogs covers oral care, which pairs naturally with a regular grooming schedule. And for dogs who need more mental engagement between sessions, pet enrichment activities offers practical ideas that fit any schedule.
Nail Trimming Requires Caution
Cutting too close to the quick — the blood vessel inside the nail — causes pain and bleeding. If you are new to nail trimming, ask your vet or groomer to demonstrate the correct angle and depth before attempting it at home. Keep a styptic powder on hand in case of accidental nicks.
The content on this site is for informational purposes only and is not a substitute for professional advice. Always consult a qualified professional for guidance specific to your situation.