

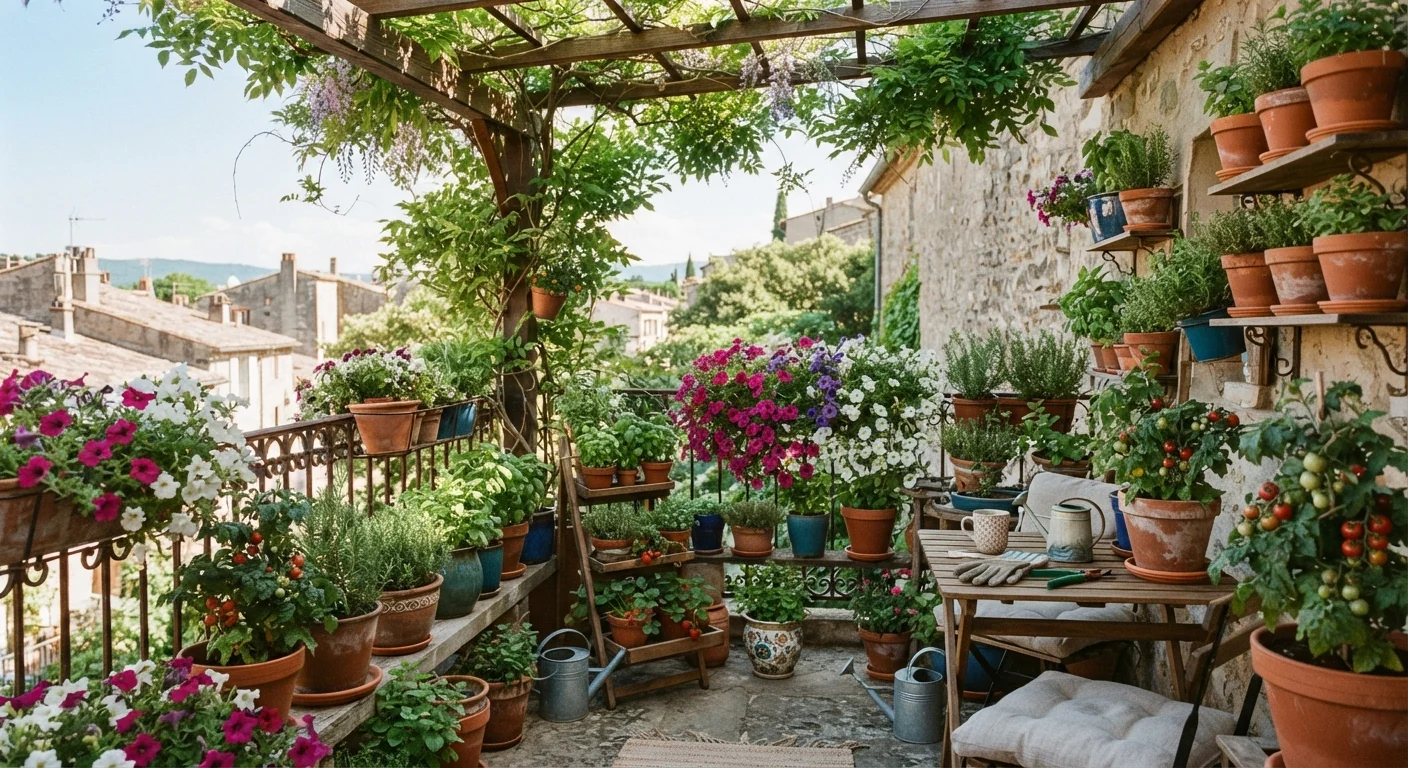
Why Container Gardening Works in Small Spaces
Container gardening is uniquely suited to patios and balconies because it places the gardener in full control. You choose the soil, the drainage, the placement, and the plant selection — independent of whatever ground conditions exist below. That flexibility makes it an ideal starting point for anyone new to outdoor design. If you're building out a patio from scratch, the patio planning guide provides a solid framework for layout and materials before you add your planting layer.
Unlike raised garden beds, containers require no construction and can be rearranged, scaled up, or scaled back at any time. A single afternoon of setup can transform a bare slab into a layered, living space.
What you will need
Getting Started: Tools and Materials
Gathering the right materials before you begin saves multiple trips and sets your plants up for success from day one. Prioritize potting mix quality and container drainage above all else — these two factors account for a large share of container gardening success or failure.
Containers (various sizes)
Hold soil and plants; size should match root depth needs of chosen plants.
High-quality potting mix
Provides proper drainage, aeration, and nutrients specifically formulated for container growing.
Drainage saucers
Catch excess water and protect patio surfaces from staining and moisture damage.
Slow-release granular fertilizer
Supplies steady nutrients to container plants throughout the growing season.
Watering can or hose with a gentle wand attachment
Delivers water evenly without disturbing soil or damaging delicate stems.
Trellis or wall-mounted planter
Extends growing capacity vertically without consuming additional floor space.
Moisture meter
Helps accurately gauge soil moisture so you avoid overwatering or underwatering.
Step-by-Step Setup
Follow these steps in order to build a functional, attractive container garden on any compact outdoor space. Each step builds on the last, so completing them in sequence will give you the best results.
Assess your space and sunlight
Before buying a single pot, observe your patio or balcony at different times of day. Count the hours of direct sun it receives — this determines which plants will thrive. South- and west-facing spaces typically get six or more hours and support sun-loving herbs, tomatoes, and flowering annuals. North- or east-facing balconies receive less intense light and favor ferns, begonias, and impatiens. If your balcony is heavily shaded, the shade-tolerant plant reference guide is a useful companion resource.
Choose the right containers
Select containers sized to the plants you intend to grow. Herbs and lettuce work in pots as shallow as 6–8 inches; tomatoes and peppers need at least 12–14 inches of depth. Every container must have drainage holes — roots sitting in standing water will rot. For balconies, consider weight: lightweight fiberglass or resin containers are far safer than heavy terracotta or concrete when floor load limits apply. Always check your building's balcony weight specifications before purchasing large planters.
Select and pair your plants thoughtfully
Pair plants that share similar sun and moisture requirements. A classic container combination — sometimes called a "thriller, filler, spiller" arrangement — uses one tall, dramatic plant as the focal point, a mounding mid-layer to fill in, and a trailing plant to cascade over the rim. Beyond aesthetics, consider function: culinary herbs like basil, parsley, and chives are highly practical and grow well together. For food gardeners, the principles in companion planting apply equally to containers — marigolds near tomatoes, for example, can help deter certain pests.
Prepare containers with the right soil and drainage
Never use garden soil in containers — it compacts, drains poorly, and can introduce pests or disease. Use a quality potting mix designed for containers. Add a layer of coarse gravel or pot shards over the drainage hole to prevent soil from washing out without blocking water flow. For plants that prefer drier conditions, such as succulents or Mediterranean herbs, mix in additional perlite (a lightweight volcanic mineral) to improve drainage further.
Establish a consistent watering routine
Container plants dry out far faster than in-ground plants because their root zone is limited and exposed to air on all sides. During warm weather, many containers need daily watering — check by pushing your finger an inch into the soil. If it feels dry at that depth, water thoroughly until it flows from the drainage holes. Water in the morning when possible to reduce evaporation and minimize fungal issues. A moisture meter removes the guesswork, especially for beginners.
Plan for seasonal transitions
A container garden doesn't have to go dormant in fall. Swap warm-season annuals for cool-tolerant plants like ornamental kale, pansies, and dwarf evergreen shrubs as temperatures drop. Bring frost-sensitive tropicals indoors before the first freeze. For ideas on keeping your outdoor space functional across the calendar, see making an outdoor space work year-round. Consistent seasonal planning ensures your patio or balcony remains visually appealing even in the colder months.
Use Vertical Space to Multiply Your Growing Area
Wall-mounted planters, stackable pocket planters, and trellised climbers dramatically expand what a small footprint can support. A single wall fitted with a modular planter system can host strawberries, herbs, or trailing nasturtiums without occupying any floor space at all. Combining floor containers with vertical elements creates visual depth and makes a compact area feel intentionally designed rather than crowded.
Maintaining and Troubleshooting Your Container Garden
Once established, container gardens are relatively low-maintenance — but they do demand consistent attention. Fertilize every two to four weeks with a balanced liquid fertilizer during the active growing season, since frequent watering gradually flushes nutrients from the potting mix. Deadhead flowering plants regularly to encourage continued blooming. If a plant looks yellowed or wilted despite adequate watering, evaluate whether it is receiving appropriate light — the most common cause of poor performance after watering issues.
Keep an eye on root crowding: when roots begin circling the bottom of a pot or emerging from drainage holes, it is time to repot into a container one size larger. Catching this early prevents stunted growth and reduced yield in edible plants.
Watch for Pests in Confined Spaces
Aphids, spider mites, and fungus gnats are common in container gardens, particularly in warm, sheltered balcony environments. Inspect the undersides of leaves weekly and address problems early before they spread to neighboring pots. Insecticidal soap solutions are a widely used general approach, but always read label directions carefully and consider plant sensitivities before applying any treatment.
The content on this site is for informational purposes only and is not a substitute for professional advice. Always consult a qualified professional for guidance specific to your situation.