

Why Slow Leaks Are So Damaging
A slow water leak rarely announces itself. Unlike a burst pipe, it operates below the threshold of daily notice — dripping behind a cabinet door, seeping through a hairline crack in a fitting, or migrating along a joist until it finds drywall. By the time a stain appears or a floor starts to buckle, the leak may have been active for weeks or months.
The consequences compound quickly. Sustained moisture softens subfloors, promotes mold growth, corrodes pipe fittings, and — in serious cases — undermines the structural integrity of walls or foundation elements. Remediation costs for water-damaged subfloors or mold-affected drywall are substantially higher than addressing the leak itself at an early stage. These are also exactly the kind of repair costs that can strain a household budget in ways that are hard to anticipate — much like the financial early-warning signals described in this overview of emerging financial pressure.
The good news is that most slow leaks leave detectable traces before they become serious problems. Knowing where to look — and what to look for — puts the odds firmly in your favor. This guide also complements our broader look at commonly overlooked home maintenance tasks that quietly escalate when ignored.
Never Ignore a Musty Smell
A persistent musty or earthy odor in a bathroom, basement, or kitchen cabinet is often the earliest sign of mold growing behind a surface — itself a sign of ongoing moisture. Mold can begin forming within 24 to 48 hours of sustained dampness. Do not mask the smell with air fresheners; investigate the source promptly.
How to Systematically Inspect Your Home
A structured inspection takes less than an hour and covers the locations where slow leaks most commonly originate: supply lines, fixture connections, appliances, and the building envelope. Gather your tools before starting so you can move efficiently through each area.
What you will need
Water meter
Used to detect active water flow when all fixtures are turned off, confirming the presence of a hidden leak.
Flashlight
Illuminates under-sink cabinets, behind appliances, and in crawl spaces where leaks commonly hide.
Moisture meter
Measures moisture content in drywall and wood surfaces, helping locate leaks inside walls without cutting them open.
Paper towels or dry cloth
Wiped along pipe joints and fixture bases to detect invisible moisture that a visual check might miss.
Read Your Water Meter Before and After a Two-Hour Pause
Locate your water meter — typically in a covered box near the curb or in a basement utility area. Record the exact reading, then ensure no water is used in the home for two hours (no flushing, no appliances, no irrigation). Re-read the meter. If the numbers have changed, water is flowing somewhere it should not be.
Check Under Every Sink and Around Toilet Bases
Open cabinet doors under kitchen and bathroom sinks. Look for water rings, soft or warped cabinet flooring, rust stains on supply lines, and any dampness on the back wall. Run a dry paper towel along each pipe joint and the supply valves — even a faint smear of moisture points to a slow drip. Around toilets, press gently on the floor near the base; softness or spongy give can indicate long-term water intrusion.
Inspect Appliance Connections and Supply Lines
Pull the refrigerator, dishwasher, and washing machine away from the wall — enough to see the connections behind them. Check flexible supply hoses for bulging, cracking, corrosion near fittings, or white mineral deposits that indicate previous dripping. Look at the floor underneath for discoloration or warping. Washing machine hoses are a particularly common failure point and are worth replacing proactively if they are more than five years old.
Look for Visual Clues on Ceilings, Walls, and Floors
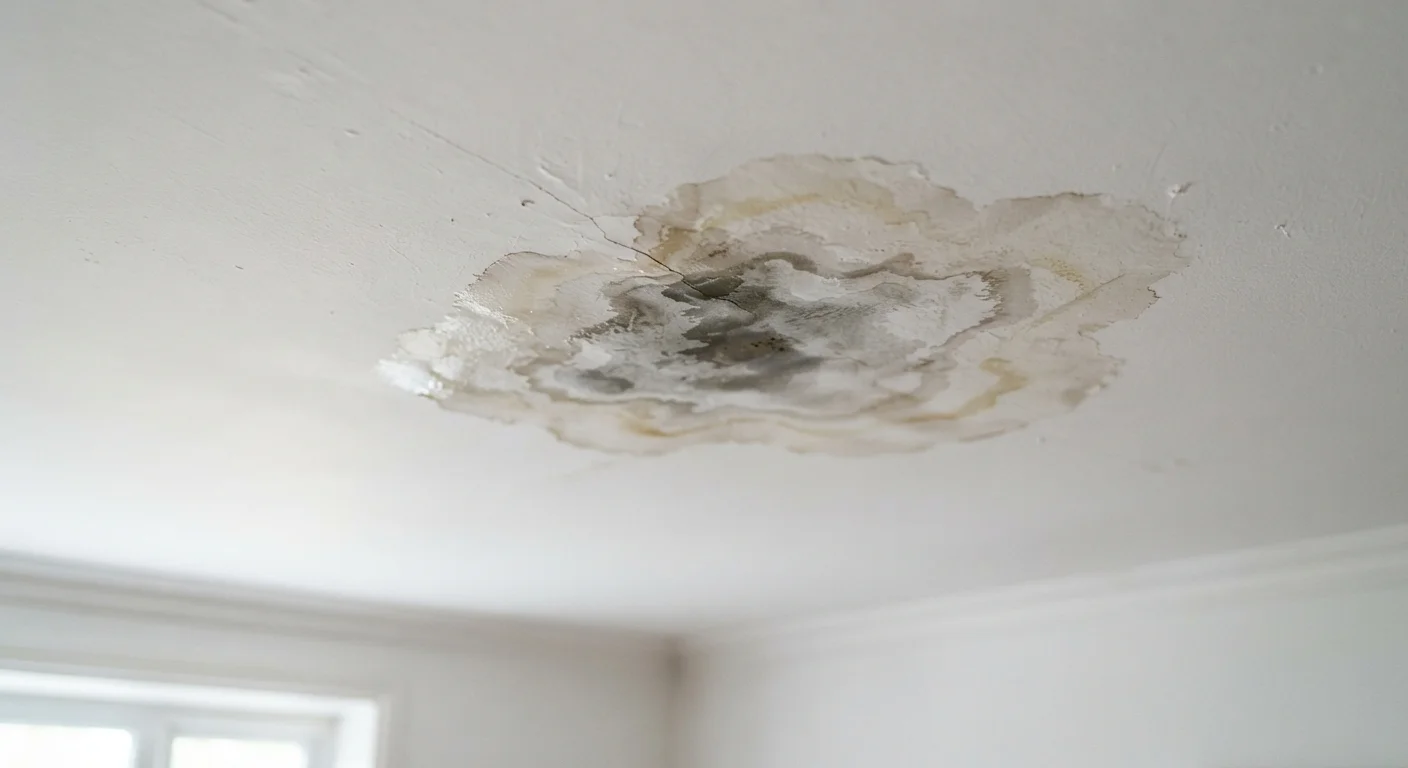
Walk through each room looking at ceiling corners, wall junctions, and areas around windows. Yellow or brown rings on a ceiling often mean water is pooling above before slowly seeping through. Paint that bubbles, peels, or looks chalky on an interior wall without obvious cause can indicate moisture behind it. On wood or laminate floors, look for boards that have cupped (edges higher than the center) or buckled — both are signs of sustained moisture from below or above. For more on distinguishing surface dampness from deeper problems, see our guide to damp patches and what they mean.
Test Your Toilet for Silent Flapper Leaks
Add 10–15 drops of food coloring to the toilet tank (not the bowl) and wait 15 minutes without flushing. If color appears in the bowl, the flapper seal is leaking and is allowing water to continuously drain from tank to bowl. This is one of the most common household leaks and one of the easiest to fix — flappers are inexpensive and replaceable without professional help in most cases.
Check Outdoor Faucets and Irrigation Connections
Turn on each exterior hose bib and observe for dripping at the spigot and at the wall connection behind it. For irrigation systems, run a full cycle and walk the perimeter while it operates — look for unexpectedly soggy ground, water pooling near a head, or zones that run longer than expected. Outdoor leaks can migrate toward the foundation, creating serious structural risk over time. To reduce the chance of cold-weather pipe damage worsening a slow leak, see our winterproofing checklist.
Document Everything You Find
Photograph every stain, damp patch, or discolored surface before and after your inspection. This record is useful if you need to file a homeowner's insurance claim or brief a plumber. Timestamped photos on your phone are sufficient — no special equipment needed.
Know When to Call a Licensed Plumber
If your water meter confirms active water loss but you cannot locate the source, or if you suspect a leak inside walls, under a concrete slab, or near your main supply line, stop investigating and contact a licensed plumber. These situations can involve pressurized lines, structural risk, or permit-required work that is not appropriate for DIY repair. Do not attempt to open walls or cut into supply pipes without professional guidance.
What to Do After You Find a Leak
If your inspection reveals a clear, accessible drip — such as a loose supply line fitting or a dripping hose bib — turning off the supply valve and tightening or replacing the connection is often a reasonable DIY fix. Always turn off the relevant shut-off valve before touching any fitting, and confirm the water has stopped before reassembling.
If the source is ambiguous, if water staining is present but no obvious drip is found, or if you notice any floor softness that suggests subfloor damage, the appropriate next step is a professional plumbing inspection. A licensed plumber can use pressure testing and specialized listening equipment to localize leaks inside walls or under slabs without unnecessary demolition.
After any repair, monitor the area for two to four weeks. Take photos on a regular schedule and re-run your water meter test to confirm the leak has fully resolved. Unexplained dampness that returns after a repair is a sign the root cause has not been addressed. You may also want to review how outdoor drainage failures can compound indoor moisture problems if your home has a crawl space or below-grade areas.
This article is for general informational and educational purposes only. It does not constitute professional plumbing, structural, or legal advice. Always consult a licensed plumber or qualified contractor for work involving your home's water supply, drainage systems, or structural components. Verify any permit or code requirements with your local authority before undertaking repairs.
The content on this site is for informational purposes only and is not a substitute for professional advice. Always consult a qualified professional for guidance specific to your situation.