

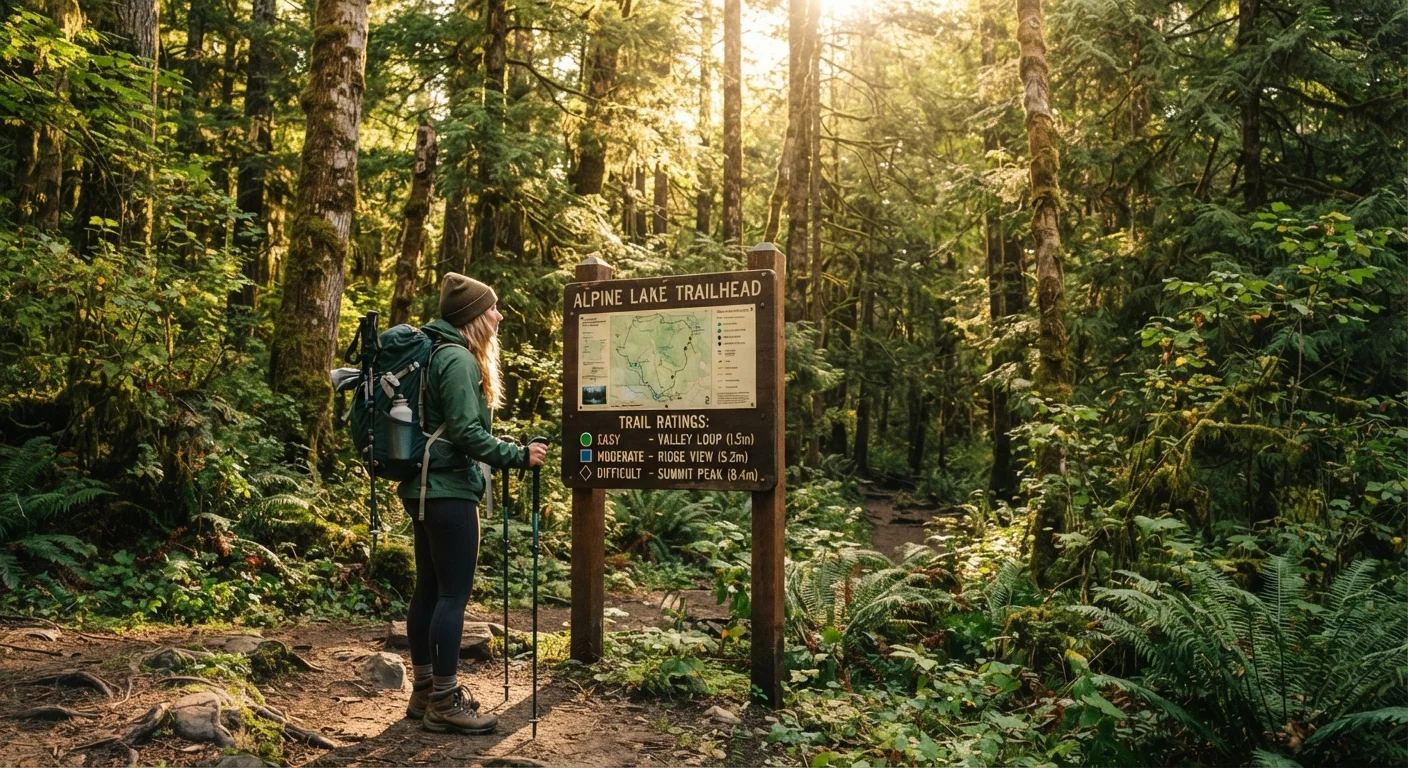
The Problem With Trail Ratings
Pull up directions to any popular trail and you'll spot a difficulty label almost immediately — easy, moderate, or strenuous. What you won't always find is an explanation of what that label actually means. Trail ratings in the United States are not standardized across land managers. The National Park Service, the US Forest Service, state parks, and private trail apps each apply their own criteria, which means a "moderate" designation on one trail might feel grueling compared to a "moderate" on another.
This inconsistency catches hikers off guard more often than most people realize. The key is to look past the label and examine the underlying metrics — distance, elevation gain, terrain type, and exposure — before deciding whether a trail fits your current fitness and skill level.
How to Read the Core Metrics Behind Any Rating
Regardless of which agency or app assigned the difficulty label, most ratings are built on a handful of measurable factors. Understanding these lets you evaluate any trail on its own terms.
- Distance: Round-trip mileage is the starting point, but distance alone tells you very little. A flat 8-mile loop is far less demanding than a 4-mile out-and-back with 2,000 feet of climbing.
- Elevation gain: This is where many hikers get surprised. Elevation consistently catches people off guard because map distances don't reflect the physical toll of climbing. A rule of thumb used by many trail managers is that every 1,000 feet of gain adds roughly the effort equivalent of one extra mile.
- Terrain surface: Packed dirt, loose scree, exposed root networks, and wet rock each create different demand and injury risk profiles. A "moderate" trail on smooth switchbacks differs substantially from one tagged the same difficulty on boulder fields.
- Exposure and technical sections: Some trails involve scrambling, narrow ledges, or significant drop-offs. These elements are not always captured in a single difficulty word, so reading recent hiker reports or checking topo maps adds critical context.
Elevation gain
The total vertical distance climbed on a trail, measured in feet or meters. It is distinct from elevation change, which also accounts for descents, and is one of the strongest predictors of trail difficulty.
Yosemite Decimal System (YDS)
A five-class scale used to rate the difficulty of hikes and climbs in North America. Class 1 is a paved or dirt walk; Class 5 involves technical rock climbing requiring ropes and protection.
Exposure
In trail and climbing contexts, exposure refers to sections where a fall would result in serious injury — narrow ridges, steep drop-offs, or ledges. High exposure terrain is often not reflected in a basic difficulty label.
Topo map
Short for topographic map. It uses contour lines to represent the three-dimensional shape of terrain on a two-dimensional surface, allowing hikers to visualize elevation changes, ridgelines, and valleys before hitting the trail.
Scrambling
A form of hiking that requires using hands as well as feet to navigate steep or rocky terrain. Classified as YDS Class 3, it sits between standard hiking and technical rock climbing.
Common Rating Systems You'll Encounter
Several frameworks attempt to bring more rigor to trail difficulty. Here are the ones you're most likely to see:
Shenandoah Trail Difficulty Formula
The National Park Service uses a numeric formula for Shenandoah National Park trails: the square root of (2 × elevation gain in feet × distance in miles). The resulting number maps to easy (under 50), moderate (50–100), strenuous (100–150), and very strenuous (over 150). It's one of the more transparent systems in wide use.
Yosemite Decimal System (YDS)
Primarily a rock-climbing classification, the YDS Class 1–5 scale is often applied to off-trail or scrambling routes. Class 1 is a standard walk; Class 3 involves hands-on scrambling; Class 4 and 5 are climbing terrain requiring protection. Many mountaineering guides use YDS to describe approach trails as well.
App-Based Ratings
Crowdsourced trail platforms aggregate user-reported data to generate ratings, which can reflect real-world conditions more dynamically — but also inherit the biases of a self-selected user base. A trail popular with experienced hikers may carry a "moderate" tag that feels aggressive to a beginner.
App Ratings Reflect Community Bias
Crowdsourced trail apps derive difficulty ratings from user submissions. If a trail is popular among experienced hikers, reviews may skew toward lower perceived difficulty, making it appear easier than it is for a beginner. Always cross-reference app ratings with official land manager descriptions and recent trip reports from hikers of similar experience levels.
Matching a Trail to Your Actual Fitness Level
Honest self-assessment is the safety step that no rating system can do for you. Consider recent activity history, not aspirational fitness. If you haven't hiked in months, your baseline is lower than you might expect, especially in heat or at elevation.
A useful field practice: before committing to a full day on a new trail, check a topo map for the elevation profile and cross-reference with recent trip reports. Weather is also a significant modifier — trail ratings are generally assigned under dry, summer conditions. Rain, snow, and ice can elevate a "moderate" trail into genuinely dangerous terrain. Make it a habit to read weather signs on the trail so you can make informed go or no-go decisions in real time.
Start conservatively when visiting a new region or trail system. Build familiarity with a land manager's rating scale before pushing into higher difficulty tiers. That steady progression is how confident, safe hikers develop — one well-understood trail at a time.
The content on this site is for informational purposes only and is not a substitute for professional advice. Always consult a qualified professional for guidance specific to your situation.