

Why Analog Navigation Still Matters
GPS-enabled smartphones are genuinely useful travel tools, but they share a vulnerability: they all depend on battery power and, in deep canyons or dense canopy, a signal that may simply not arrive. Topographic maps and a compass require neither. They are the bedrock of backcountry navigation that mountaineers, search-and-rescue teams, and wilderness guides rely on precisely because they cannot crash or run out of charge.
Learning to read terrain from a map also sharpens your situational awareness in ways that a moving blue dot cannot. When you understand how contour lines translate to the ridge in front of you, you begin to see the landscape as navigators have for generations — as a readable system of slopes, drainages, and high points. That shift in perspective makes every outdoor adventure richer and safer.
This skill set complements other field-awareness practices, too. See our guide to reading trail weather for the natural cues that pair with solid navigation to keep you safe outdoors.
What you will need
Gear Up Before You Head Out
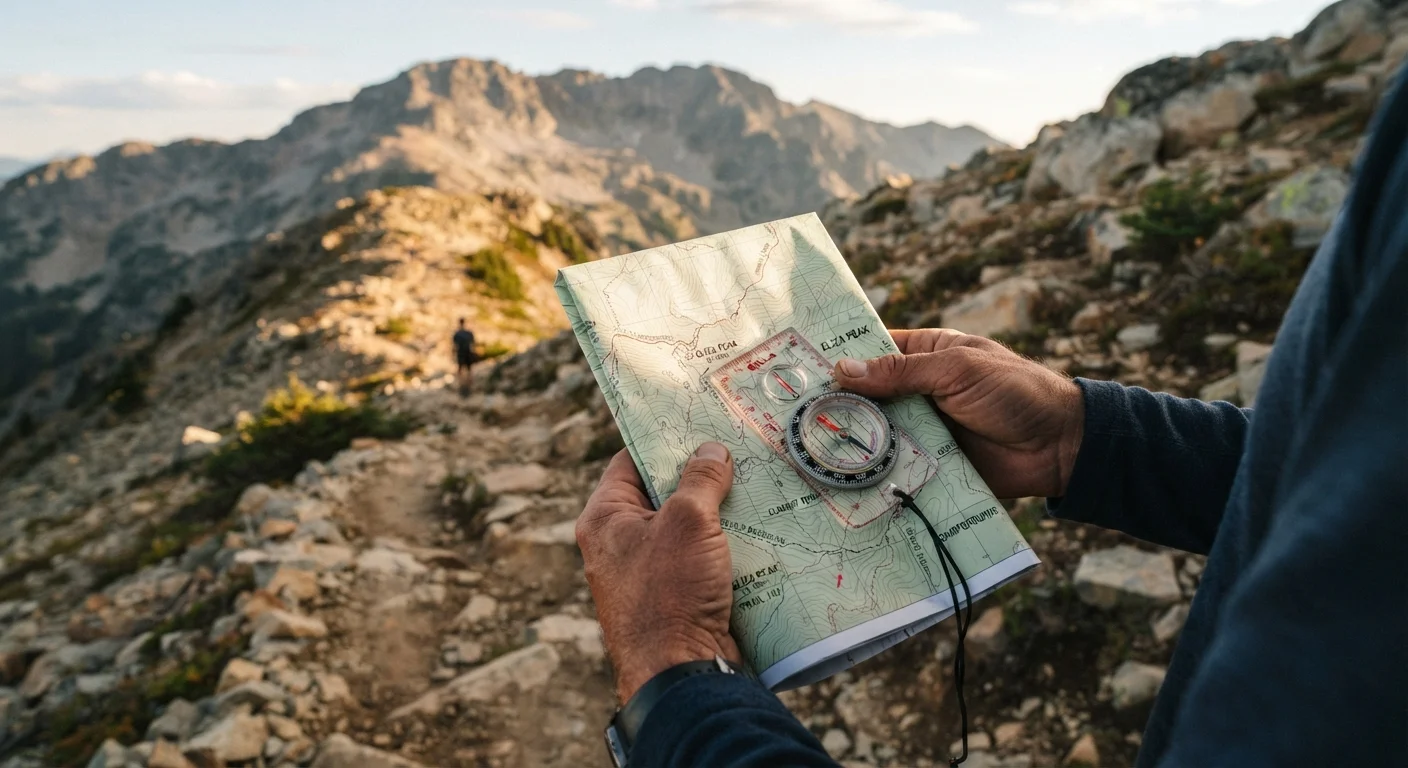
You don't need elaborate equipment to navigate well, but the right basics make an enormous difference. A printed topographic map at a scale of 1:24,000 shows enough detail — individual trails, small streams, precise summit elevations — to be genuinely useful in the field. A baseplate compass (sometimes called an orienteering compass) combines a rotating bezel, a transparent base, and parallel orienting lines that let you take and transfer bearings directly on the map surface without additional tools.
Topographic Map (1:24,000 scale)
Provides detailed elevation data, terrain features, and trail corridors for route planning and field navigation.
Baseplate Compass
Used to take magnetic bearings, orient the map to true north, and follow a precise heading across terrain.
Pencil and small notepad
For recording bearings, landmark notes, and waypoints during navigation sessions.
Waterproof map case or zip-lock bag
Protects the paper map from rain and moisture in the field.
Before any trip into terrain with limited connectivity, it's worth applying the same preparation mindset you'd bring to other technical challenges — just as keeping your devices secure requires understanding your tools before a problem arises, navigation mastery comes from practice before you depend on it.
Step-by-Step: From Map to Terrain and Back
The following steps build a complete navigation workflow. Work through them in sequence when you first practice — eventually the process becomes fluid and nearly automatic. Begin in familiar terrain so that errors teach rather than endanger.
Orient Your Map to the Terrain
Place the map on a flat surface or hold it level. Lay your compass on top and rotate the entire map — not just the compass — until the map's north arrow aligns with the compass needle pointing north. The map is now oriented to actual terrain, and ridges, valleys, and trails visible around you should correspond to features printed on the map.
Read Contour Lines to Understand Elevation
Contour lines connect points of equal elevation. The contour interval — printed in the map legend — tells you how much vertical gain each line represents (commonly 40 feet on USGS maps). Key rules:
- Lines close together = steep slope
- Lines far apart = gentle slope or flat ground
- V-shapes pointing uphill = valleys or stream drainages
- V-shapes pointing downhill = ridges or spurs
- Closed circles = hilltops or depressions (check for tick marks indicating a depression)
Identify at least two prominent landforms on the map and locate them visually in the field before you move.
Account for Magnetic Declination
Your compass needle points to magnetic north, not true north. The difference between the two — called declination — varies by location across the United States, ranging from roughly 20° west in the Pacific Northwest to about 15° east in New England. The declination value for your map area is printed in its margin diagram.
To correct for declination when taking a map bearing to use in the field: if you're in a west declination zone, add the declination degrees to your map bearing; in an east declination zone, subtract. Some baseplate compasses have an adjustable declination setting that automates this step — check your model's manual.
Take a Field Bearing to a Known Landmark
Point the compass's direction-of-travel arrow at a visible, identifiable landmark (a distinct peak, a fire tower, a lake inlet). Rotate the bezel until the orienting arrow aligns with the magnetic needle — the red end of the needle should sit within the orienting arrow housing, sometimes called "putting red in the shed." Read the bearing in degrees at the index line. Apply your declination correction. You now have the magnetic bearing from your position to that landmark.
Transfer the Bearing to the Map (Triangulation)
To find your position on the map using triangulation, take field bearings to two or more distinct landmarks. For each bearing:
- Find the landmark on the map.
- Place the compass edge on that landmark point.
- Rotate the entire compass (not the bezel) until the orienting lines on the bezel run parallel to the map's north-south grid lines.
- Draw a line along the compass edge across the map.
Where the lines from two landmarks intersect is your approximate position. Three bearings create a small triangle — your position lies within it. This technique is called resection and is one of the most reliable analog methods for confirming your location in remote terrain.
Follow a Compass Bearing Across the Terrain
Set your desired travel bearing on the compass bezel. Hold the compass level, rotate your body until the needle aligns with the orienting arrow, and look up along the direction-of-travel arrow. Pick a fixed object along that line — a tree, a boulder — and walk to it without watching the compass. At each waypoint, re-check the bearing and pick a new object. This technique, called aiming off when intentionally targeting a point beside your true destination, helps you arrive confidently on the correct side of a trail or river and eliminates the guesswork of which direction to turn.
Practice Resection Before You Need It
Run through a full triangulation exercise at home using a printed topo of a familiar area and Google Earth for reference. Identify three landmarks on the map, "take" simulated bearings, and see if the intersection lands where you expect. Building muscle memory in a low-stakes setting means the technique flows naturally when you actually need it in the field.
Building Confidence Through Practice
Map and compass navigation is a perishable skill — it improves with use and fades without it. Local orienteering clubs run timed course events open to all skill levels, and these are among the most efficient ways to compress months of field experience into a single afternoon. Many land management agencies also offer free land navigation workshops; check with your nearest national forest or park service office for scheduled programs.
Start your practice sessions in parks or open green spaces where landmarks are abundant and the stakes are low. Set yourself small challenges: "Navigate from this trailhead to that knoll using only the map and compass." Gradually work into less familiar terrain as your confidence grows. The same deliberate, build-as-you-go approach that experienced road-trippers use — as described in our principles for smarter road trip navigation — applies equally to trail navigation: plan carefully, leave room for adjustment, and keep learning from each outing.
Never Rely on a Single Navigation Method
Even skilled navigators make errors — and remote terrain amplifies the consequences. Carry your topo map and compass as the primary system, but also inform a trusted contact of your route and expected return time. Navigation tools are one layer of a broader safety framework that includes weather awareness, appropriate gear, and the judgment to turn back when conditions change.
The content on this site is for informational purposes only and is not a substitute for professional advice. Always consult a qualified professional for guidance specific to your situation.