

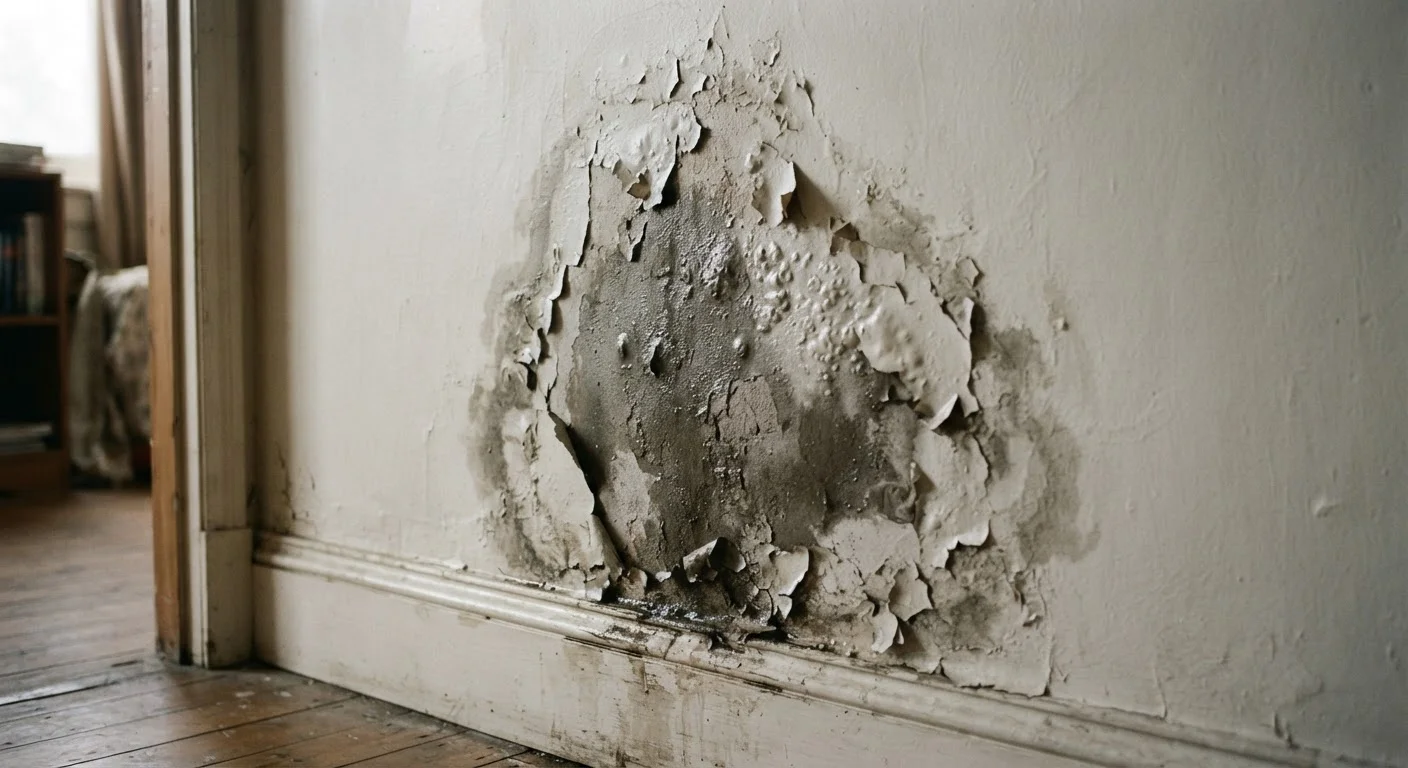
Why Small Damp Patches Are Deceptive
A faint tide mark on a bedroom wall or a soft patch of plaster in a corner might seem like a minor cosmetic issue. In reality, that visible stain is almost always the end result of a process that has been underway for weeks or months beneath the surface. By the time moisture becomes visible, it has typically already affected plaster, insulation, or structural timber nearby.
The challenge is that three distinct types of dampness — condensation, rising damp, and penetrating moisture — can produce strikingly similar surface symptoms. Without identifying the correct source, any repair is at best temporary and at worst conceals ongoing damage. Understanding which type you are dealing with is the essential first step.
Painting or re-plastering over the damp patch without treating the source.
Why it happens: It is the fastest, cheapest option and the stain disappears — at least temporarily. Many homeowners assume the problem was minor once it is no longer visible.
Assuming all dampness is condensation and simply increasing the heating.
Why it happens: Condensation is the most commonly cited cause of household damp, so it is a natural first assumption. Raising the indoor temperature can temporarily reduce surface moisture, which seems to confirm the diagnosis.
Ignoring gutters, downpipes, and external render when investigating interior dampness.
Why it happens: The connection between an overflowing gutter and a damp interior wall is not always intuitive, especially when the stain is several metres from the external source.
Applying a chemical damp-proof injection without confirming rising damp is actually present.
Why it happens: Rising damp treatments are heavily marketed and are sometimes recommended without proper diagnosis. Homeowners understandably want a definitive fix.
Delaying action because the patch appears small or dry during summer.
Why it happens: Many damp problems are seasonal, appearing to resolve in warm, dry weather. This can give a false impression that the problem has corrected itself.
The Most Damaging Mistakes Homeowners Make
Getting dampness wrong is surprisingly easy. The errors below are among the most frequently repeated, and each one can turn a manageable repair into a costly structural problem.
Do Not Mask Damp With Waterproof Paint Alone
Waterproof or damp-resistant paints are sometimes used as a first response, but they do not stop moisture migration through masonry — they redirect it. Trapped moisture can cause paint to bubble and may accelerate plaster failure behind the surface. These products are only appropriate as part of a complete repair that addresses the source, not instead of one.
If you suspect moisture is reaching load-bearing timbers, floor joists, or the base of external walls, arrange a professional inspection before attempting any DIY repair. Structural damp damage is not always visible and can progress silently for years. See our guide on detecting slow water leaks for early warning signs worth checking first.
How to Diagnose Before You Act
A methodical approach saves time and money. Start by taping a piece of kitchen foil tightly over the damp patch and leaving it for 48 hours. If moisture collects on the outer (room-facing) surface, condensation is the likely cause. If moisture appears behind the foil against the wall, water is penetrating from outside or rising from below.
1 in 5
UK homes affected by damp or mould
Government housing surveys have consistently found that around one in five homes reports some form of damp, mould, or condensation problem.
70%
Of damp cases linked to condensation
Building research organisations estimate that the majority of reported household dampness is caused by condensation rather than structural rising damp.
Next, consider location. Damp appearing high on walls during or after rainfall points to penetrating moisture — a failed render, a blocked gutter, or a compromised roof detail. Damp confined to the lower 900mm of a wall that worsens in winter and improves in dry weather is more consistent with rising damp. Widespread patches on cold surfaces near windows or in poorly ventilated rooms are classic condensation patterns. For a deeper look at how air movement affects moisture levels indoors, see our article on condensation, mould, and ventilation.
A basic damp meter — available from hardware stores — gives you a moisture reading that helps distinguish between a surface problem and one that runs deep into the masonry. Document your findings with photographs before doing anything else.
This article is for general informational purposes only. For dampness affecting structural elements, gas pipes, or electrical installations, always consult a qualified tradesperson or surveyor.
The content on this site is for informational purposes only and is not a substitute for professional advice. Always consult a qualified professional for guidance specific to your situation.