

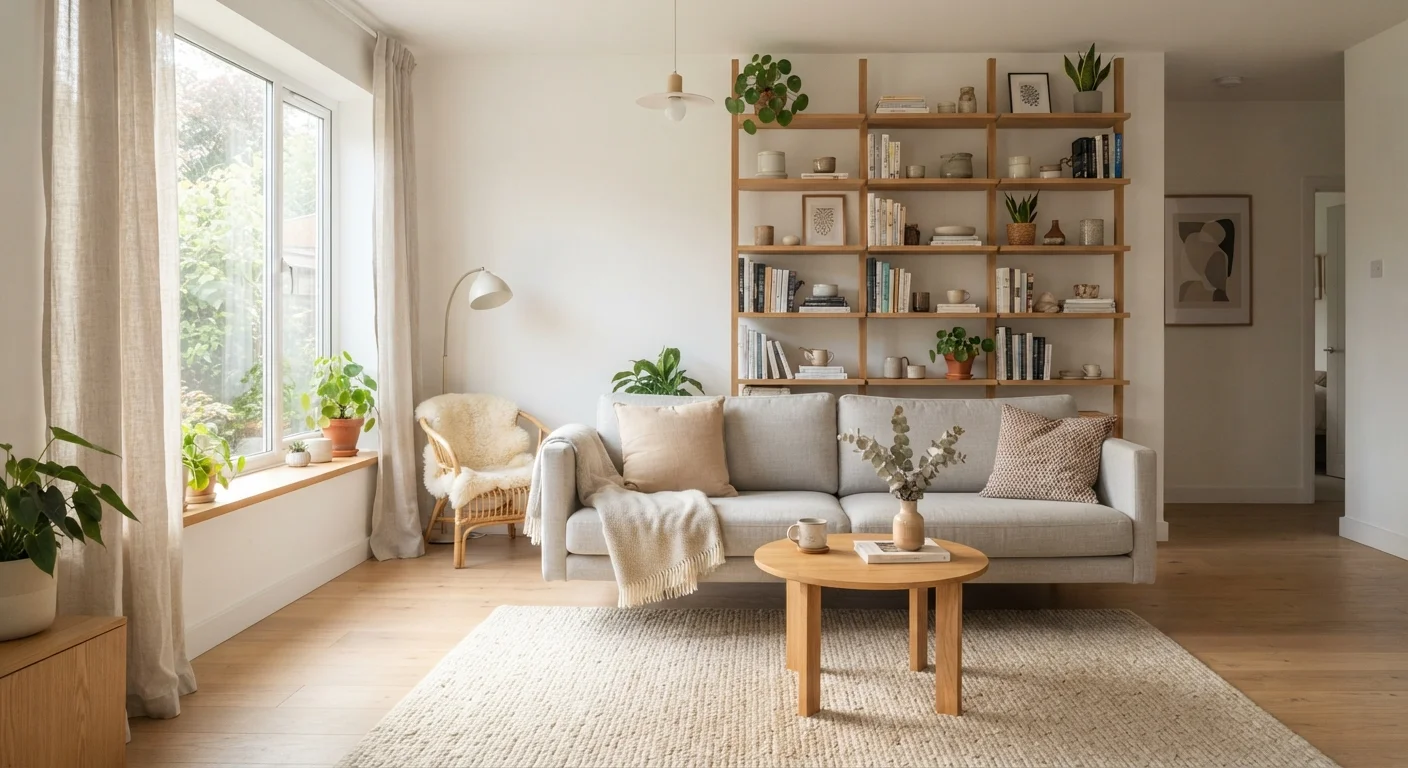
Why Small-Space Arrangement Is Different
Furniture arrangement in a compact room isn't simply a scaled-down version of what works in a larger home. The same rules don't apply. In a spacious living room, you can afford a few visual mistakes — oversized pieces, awkward traffic patterns, or redundant furniture — and the room absorbs them. In a small space, every decision has a visible consequence.
The most common problem isn't lack of furniture — it's furniture positioned in ways that shrink the room rather than open it up. Pushed-against-wall arrangements, pieces that block natural light, and undersized rugs are among the most frequent culprits. The good news is that rearranging what you already own costs nothing and can meaningfully transform a space.
Measure Before You Move Anything
Rearranging heavy furniture without measurements is one of the most common small-space mistakes. Sketch your room's dimensions on paper — or use a free floor-planning app — before moving a single piece. Include doorways, window placements, and electrical outlets. What looks workable in your head often doesn't work at scale.
Before you begin, gather your tools and measurements. The steps below walk you through a practical process for any small room — living room, bedroom, studio apartment, or home office.
Measuring tape
Accurately measure room dimensions and furniture footprints before rearranging.
Graph paper or floor-planning app
Sketch scaled layouts to test arrangements without physically moving furniture.
Furniture sliders
Allow heavy pieces to glide across flooring without scratching or requiring extra lifting.
Painter's tape
Mark out proposed furniture footprints on the floor to preview placement before committing.
Step-by-Step: Arranging Your Small Space
Work through these steps in order. Skipping the planning phase (steps 1–2) is the most common reason rearrangements fail to improve a room.
What you will need
Map the room before touching anything
Measure your room's length and width, then note the position of doors, windows, radiators, and electrical outlets. Reproduce this on graph paper or in a free floor-planning tool, using a consistent scale (e.g., one square = one foot). Add your furniture dimensions to the map. This step prevents wasted effort and protects floors and walls from unnecessary damage.
Identify the room's focal point
Every well-arranged room orients around a focal point — a fireplace, a window with a view, a media console, or even a single bold piece of art. In a small space, anchoring furniture toward a clear focal point prevents the scattered look that makes rooms feel chaotic. Angle your primary seating to face it, and build the rest of the arrangement outward from there.
Float key pieces away from the walls
Pull sofas and chairs at least 6–12 inches from the wall behind them. This counterintuitive move creates a sense of depth and makes the room feel larger than it is. In very small rooms, even a few inches matters. Group seating inward to form a cohesive conversation area rather than a perimeter arrangement that leaves a dead zone in the middle.
Choose and position multi-functional furniture
In tight rooms, every piece should do more than one job. A storage ottoman replaces a coffee table while hiding clutter. A daybed serves as both seating and sleeping. Nesting tables can spread out for guests and tuck away afterward. When choosing new items, our comparison of built-in storage versus freestanding furniture can help you decide what suits your situation.
Work vertically to reclaim floor space
Wall-mounted shelving, tall bookcases, and over-door organizers move storage upward rather than outward. Aim to draw the eye toward the ceiling — this creates the illusion of height. Leave the top 12 inches of shelving lightly styled rather than packed, which reinforces the sense of airiness. For ideas on how open shelving performs in real living spaces, see what nobody tells you about open shelving.
Define zones in open-plan or multi-use rooms
In studio apartments or open-plan living areas, distinct zones prevent the space from feeling like one undifferentiated room. Use rugs, lighting, and furniture backs to signal transitions — a sofa back facing a workspace, a pendant light over a dining table, a rug under the bed. These cues create psychological separation without walls. Renters can achieve the same effect without permanent changes; see our guide to renter-friendly personalisation for ideas that won't affect your deposit.
Use Rugs to Define, Not Decorate
In a small space, a rug does more than add texture — it anchors a seating zone and signals where one area ends and another begins. A rug that is too small fragments the room visually. For more on getting the size right, see our guide on rug sizing and placement.
Don't Push Everything Against the Walls
It feels counterintuitive, but lining all furniture against walls actually makes a small room feel more cramped, not more open. Pulling pieces even a few inches inward creates visual breathing room and encourages natural conversation groupings. Reserve wall-hugging for genuinely oversized pieces that cannot otherwise fit.
Finishing Touches That Reinforce the Layout
Once furniture is positioned, a few additional choices reinforce the sense of space. Mirrors placed opposite windows bounce light and create the impression of depth. Consistent or tonal color palettes — rather than many competing colors — reduce visual noise. Transparent or glass-topped furniture (acrylic chairs, glass coffee tables) takes up physical space without blocking sightlines.
Lighting matters more in small rooms than many people realize. A single overhead fixture flattens a room; layered lighting using floor lamps, table lamps, and wall sconces creates dimension and warmth. These details don't require a large budget — they require attention to how the eye moves through the room.
Good arrangement is rarely finished in a single afternoon. Live with a new layout for a week before deciding it isn't working. What feels unfamiliar on day one often becomes natural by day seven.
The content on this site is for informational purposes only and is not a substitute for professional advice. Always consult a qualified professional for guidance specific to your situation.